Getting Started
The PluggedIn3d Runout Filament Sensor is designed to work with the Filament Sensor Simplified plugin for OctoPrint running on a Raspberry Pi. If you already have a Raspberry Pi running OctoPrint this guide will quickly and easily add a filament sensor to your printer. The sensor is designed to pause your print when the filament runs out. Runout Sensor Benefits:- Save money
- Waste Less Filament
- Save time
- Less failed prints
- Use up ends of spools
- Can be used to trigger pause to change filament color
Connecting to Raspberry Pi
First, connect the solid connector of the wire harness to the runout sensor. It only goes one way. Please don’t mess this up. Your prints are counting on you. POWER OFF YOUR RASPBERRY PI BEFORE CONTINUING! Next, find the three individual wires and notice one is marked red and one is marked green. Plug the red wire into pin 1, the black (unmarked) wire into pin 9 and the green wire into pin 11 as shown below.
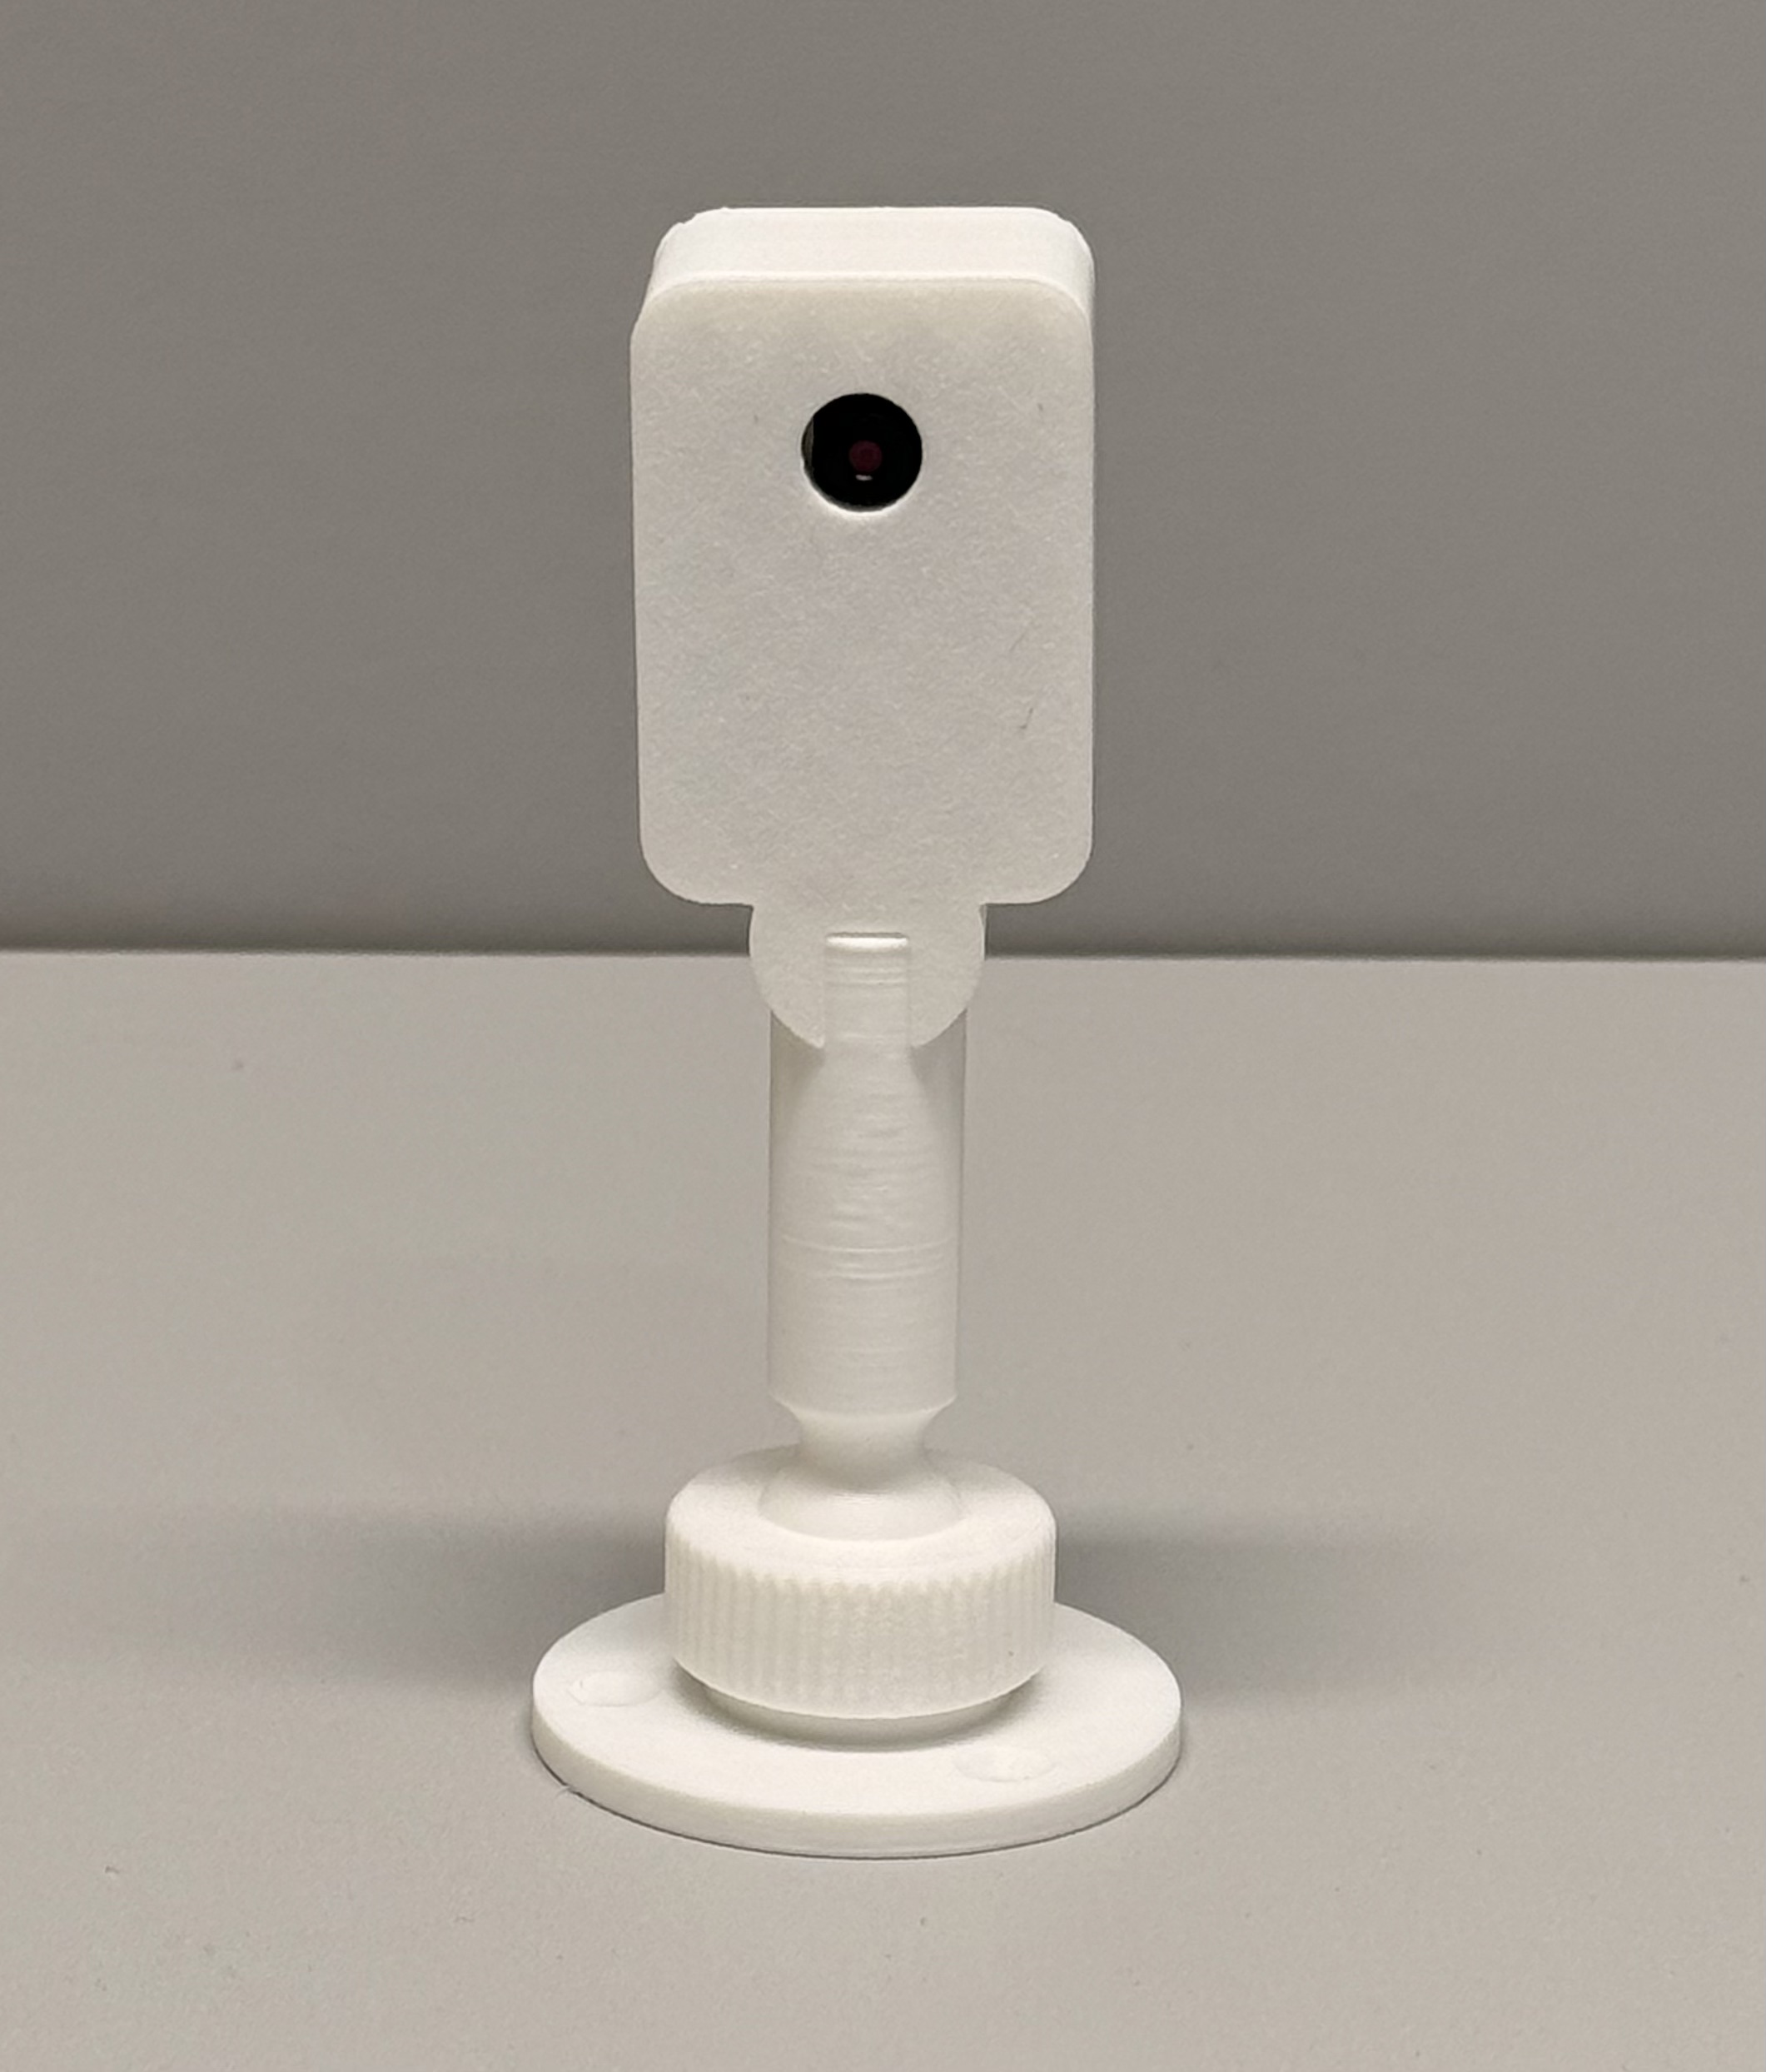
Mount the sensor
I won’t go into a lot of detail here since the mounting portion will vary greatly form printer to printer. On my Qidi X-Plus printers I feed the filament through the top and have the sensor sitting on top inline with the filament. It’s free floating with the wire harness taped to the plastic top of the printer. It’s ugly, embarrassing and incredibly efficient.
Install the plugin
In Octoprint click settings > Plugin Manager > Get More and search for Filament Sensor Simplified and click Install. Once the install is complete you will be prompted to reboot the Pi. Don’t try to be a hero. Just reboot. Match the settings to the image below and test away.
I have found the default pause script in OctoPrint worked well for me but you may want to tweak a bit to make sure the head moves to a location which is easy to change out the filament.
Ready to grab one? You can pick up the Runout Filament Sensor for OctoPrint directly from our shop.
Why a Filament Runout Sensor Is Worth Adding
Running out of filament mid-print is one of the most frustrating things that happens in 3D printing — especially on an overnight job. Without a runout sensor, OctoPrint has no idea the spool is empty and just keeps sending move commands while your hotend oozes nothing. The result is a half-printed part that goes straight in the trash.
A filament runout sensor costs less than a failed spool of filament and takes about 20 minutes to install. It’s one of the best upgrades you can add to any OctoPrint setup.
Wiring Reference
Quick reference for the GPIO pin connections on a standard Raspberry Pi 2/3/4:
- Red wire → Pin 1 (3.3V power)
- Black wire → Pin 9 (Ground)
- Green wire → Pin 11 (GPIO 17 — signal)
Always power off your Pi before connecting anything to the GPIO header. The pins are unprotected and a short can damage your board permanently.
Troubleshooting Common Issues
Sensor triggers immediately on startup: This usually means the signal wire is detecting a false LOW state. Check that the green wire is seated firmly in Pin 11 and that the sensor connector is fully clicked into the body of the sensor. A loose fit can cause false triggers.
Sensor never triggers even when filament runs out: Open the Filament Sensor Simplified plugin settings and confirm GPIO 17 is selected. If you wired to a different pin, update the setting to match. You can also test the sensor manually — pull the filament out by hand and watch for the pause command in OctoPrint’s terminal.
Print resumes in the wrong position after a pause: This is a G-code script issue, not a sensor issue. In OctoPrint’s Settings → GCODE Scripts, edit the “After print job is paused” script to move the head to a convenient XY position (like X0 Y0) and retract slightly. Edit the “Before print job is resumed” script to prime a few mm before continuing.
Plugin not showing in OctoPrint after install: Make sure you rebooted the Pi fully — not just restarted OctoPrint. The plugin requires a full system reboot to initialize the GPIO library correctly.
Using the Sensor to Swap Filament Colors
One underrated use of a runout sensor: intentional mid-print color changes. Run your filament down to almost nothing, then let the sensor trigger the pause. Swap your spool, prime a few mm manually through OctoPrint’s control panel, and resume. Clean color change, no slicer modifications needed.
This works especially well for two-tone prints where you want a color change at a specific layer height — just time how much filament is left on the spool and plan accordingly.
Ready to Grab One?
You can pick up the Runout Filament Sensor for OctoPrint directly from our shop. It ships with the pre-wired harness so you’re ready to install in minutes.
Questions about the install? Drop them in the comments below. I check regularly and respond to every one.
— Cam | @pluggedin3dprints